
I just finished completely revising the Celestino Couture website. During the update, I converted everything to Flash. This has allowed doing a lot of subtle transitions, and will enable more as the site evolves.
Check it out.
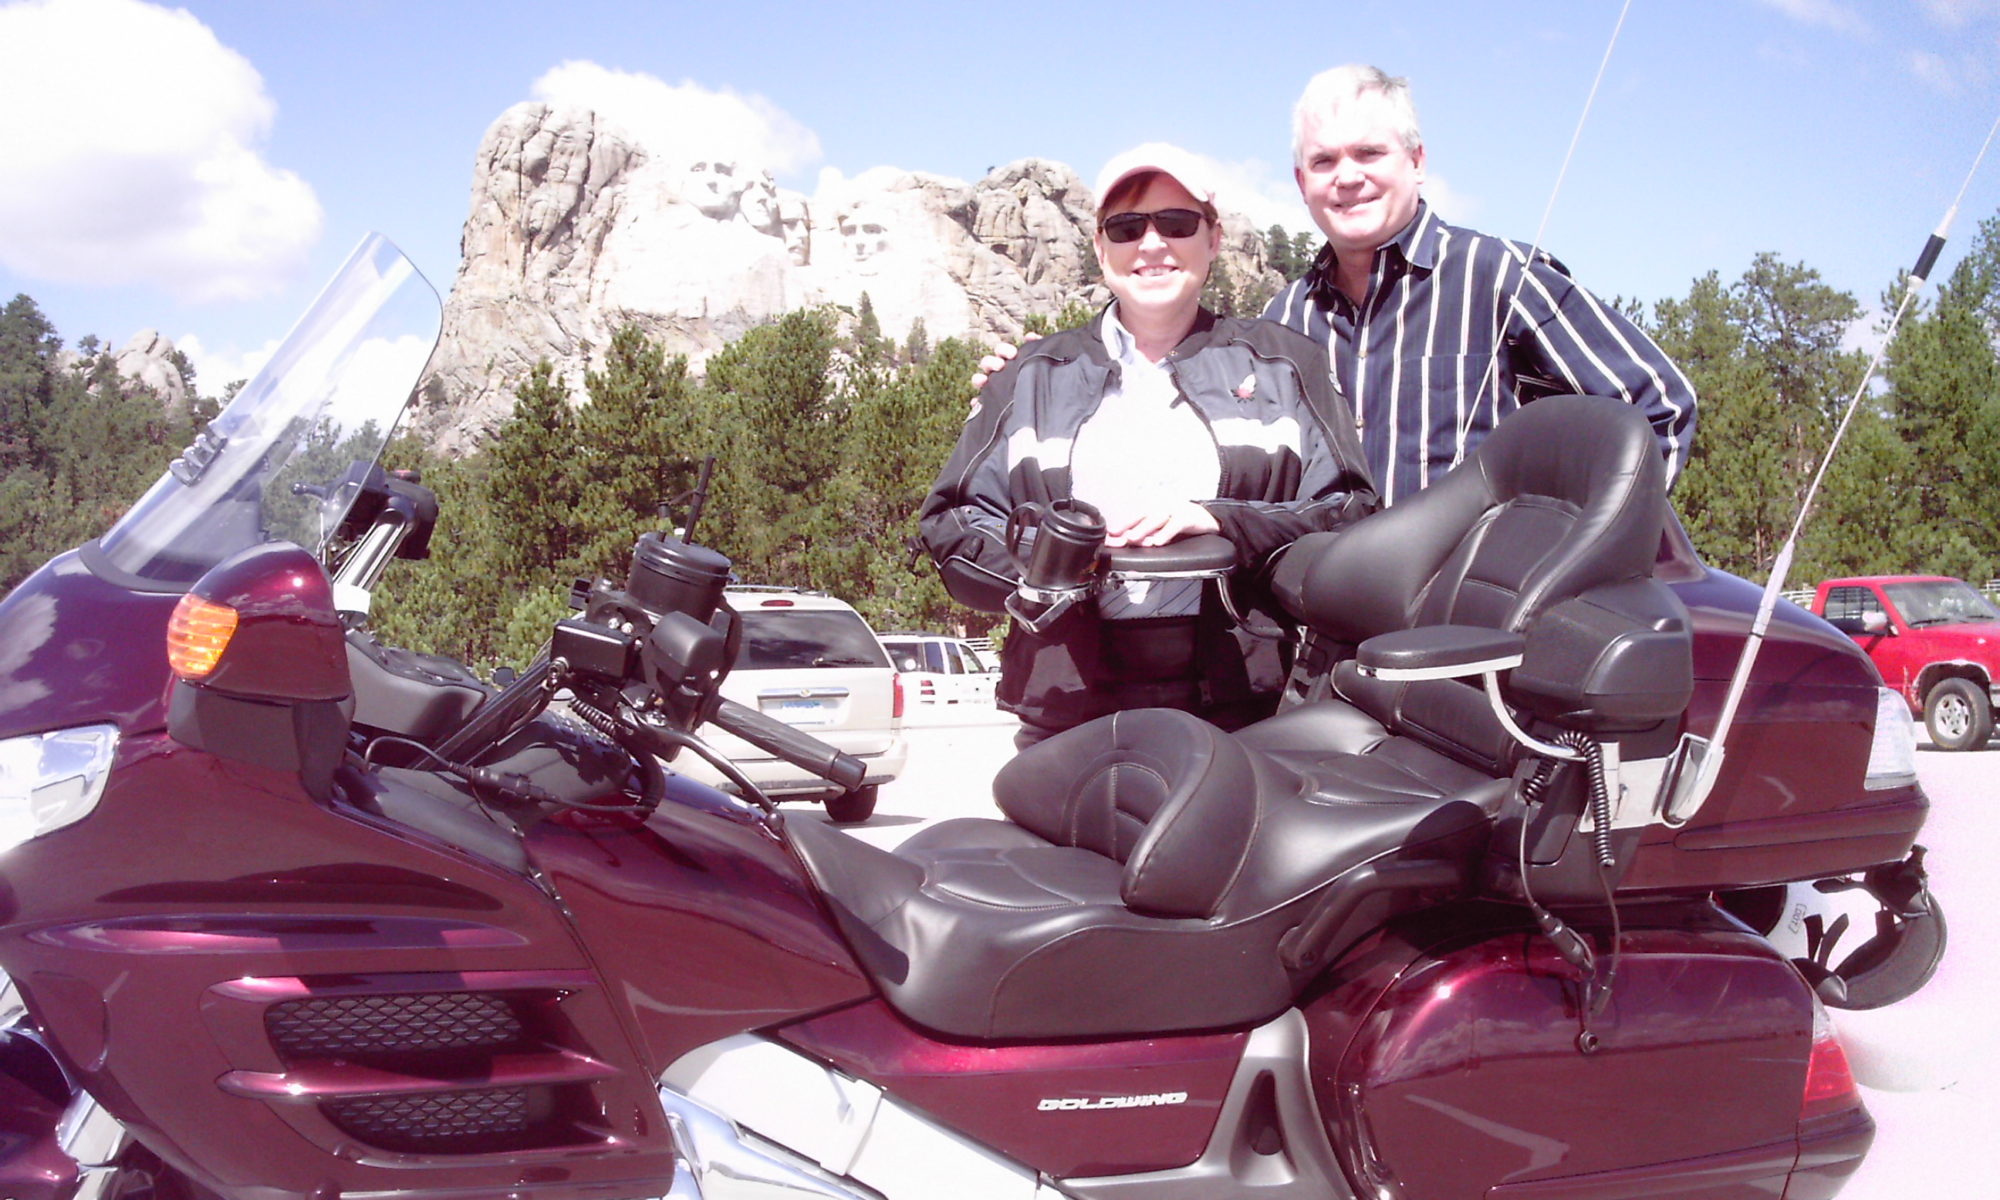
Living a blessed life!
I just finished completely revising the Celestino Couture website. During the update, I converted everything to Flash. This has allowed doing a lot of subtle transitions, and will enable more as the site evolves.
Check it out.
After the heavy rains earlier this week, we’ve had to really check out the RV for leaks. We didn’t find any major leaks. However, we did find evidence of a significant amount of old water damage. When we purchased the RV we were told that there had been a leak along the front, but that it had been fixed. It turns out that there had been a significant amount of water damage, rot, and mold which had not been fixed.

So we rolled up our sleeves and got to work this weekend.
We had to completely dismantle the closet doors and shelves to get at the rear panels. Upon pulling up the carpet we realized that we’d need to replace the flooring, at least for the back part.

The framework behind the rear wall panelling was rotten, so we had to replace it.
We looked into using teak, but this appeared cost prohibitive. Instead we’ve opted to go with an inexpensive hardwood and paint it with Kilz.
It appears that the closet was built before the front end fiberglass end cap was installed. We really didn’t want to remove any outside panels, so we were delighted to find that we could reach everything containing rot from inside. Thank you Jesus.
I’ll post more pictures as we go.
God is taking us yet another direction. We are in the process of selling our home and becoming full-time RVers. Alas, this means that we will be unable to conduct our workshops from our home anymore.
I am going to continue website coaching and smaller design projects. I’ll just be doing it from wherever I happen to be. We’ll also be rebranding from our current Website Workshops to the more appropriate Nomad Websites name.
I apologize to those of you that wanted to attend one of our future workshops. I will continue to be available for 1-on-1 training while I am in the area.
Facebook provides a simple way to connect to Twitter. To enable your Facebook content to your Twitter account, login into Facebook and then navigate to http://www.facebook.com/twitter. From there add your Twitter account information to link to it.
The RSS supported built into WordPress makes it easy to write a post in one place and have it appear in other places like FaceBook and Twitter. FaceBook automatically generates multiple RSS feeds based on categories and/or tags, so you can get as fancy with this as you want. For example, you can create a tag “FaceBook” and then have only those posts tagged “FaceBook” appear on your FaceBook.
To enable your WordPress posts to appear in you FaceBook stream, simply configure Account -> Application Settings -> Notes and select “Import my blog” on facebook and point it to your WordPress blog URL. If you just list the blog URL you will get all posts. Alternatively you can use the URL to a specific category or tag.
To keep the size of the post fed to FaceBook reasonable, set your WordPress reading settings “For each article in a feed, show:” to “Summary”.
The new Twenty Ten theme for WordPress 3.0 provides support for uploading custom header images. Uploaded images are cropped to 940 x 198 pixels. So your options are:
I’m going to show you how to do option 3: change the Twenty Ten theme header image size. “Creating a child theme is the way of the future” (I think that Yoda said that, but I’m not sure).
The Twenty Ten header image size is defined in the functions.php function twentyten_setup(). The WordPress team has thoughtfully provided filters to simplify overriding the default height and width:
// The height and width of your custom header.
// You can hook into the theme's own filters to
// change these.
// Add a filter to twentyten_header_image_width
// and twentyten_header_image_height to change these values.
define( 'HEADER_IMAGE_WIDTH',
   apply_filters( 'twentyten_header_image_width', 940 ) );
define( 'HEADER_IMAGE_HEIGHT',
   apply_filters( 'twentyten_header_image_height', 198 ) );
You can define filters named “twentyten_header_image_width” and “twentyten_header_image_height” which will override the default values of 940 and/or 198.
To create filters which override these values, create a functions.php file in your child theme and add the following lines:
add_filter('twentyten_header_image_height','my_header_height');
add_filter('twentyten_header_image_width','my_header_width');
function my_header_height($size){
   return 300;
}
function my_header_width($size){
   return 900;
}
In this case I am ignoring the default sizes that are passed into the filter and simply setting them to the values that I want (900×300).
Be sure to change the prefix ‘my_’ to something more appropriate and unique to your child theme to avoid possible naming conflicts.
That’s all it takes! Use the Appearance -> Header control panel to upload a new header image now. The control panel should now display the size that you set with these filters, and the new size reflected on the website.
Now having said that, I subsequently decided that I want different sizes and layouts for the front and other pages, so I ultimately modified the header.php file. Don’t judge me.
WordPress 3.0 RC3 was released yesterday.
Once of the very cool new features being added to WordPress 3.0 is support for child themes. This capability will allow a web developer to create a new theme by overriding the settings of an existing (or parent) theme.
Combined with the new Twenty Ten default theme, this is going to make the creation of WordPress themes easier and less error-prone. The new Twenty Ten theme contains a lot of comments explaining how to derive a new theme from it.
This blog is using a new theme created this way. I’ll explain how each of the changes is made as I go along.
Note to Safari users: the new develop menu in 5.0 allows you to use Safari for web development in a manner similar to that previously requiring Firefox. Â Check it out.
I’ve been looking at the updated Dreamweaver CS5. I had been using Dreamweaver CS3 about 2 years ago, and abandoned it because of the problems it created with my custom PHP coding.
Well it appears that during CS4 and now CS5 Adobe has fixed a lot of those problems and added features specifically targeted for power coders like myself.
Perhaps the most interesting new feature is the support for working in CMS environments like WordPress and Joomla. I like to code extensions and themes for these environments, so this is a big plus for me.
There is a 30 day free trial, so over the next month I’m going to be giving it a whirl.
Lynda.com has a full tutorial on using Dreamweaver CS5, so I’ll be working through that also.
I found some good tips on Joomla security at HotJoomlaTemplates.com:
I’m looking into selection of a forum (bulletin board) for use with Build a Website Workshops as well as for my WordPress plugin. For Workshops I want something that integrates nicely with Joomla! but I may choose something different for my WordPress plugins since it needs to integrate nicely with WordPress 🙂
At first glance, Joo!BB looks attractive. However, forum.joomla.org uses phpBB. I’m guessing that this might be because they selected phpBB long ago, and it doesn’t make sense to switch even if there are better options now.
I’m going to try installing joo!BB on my BuildAWebsiteWorkshops.com site and see how it works.