Moving the Booth

After removing the wall, we relocated the booth table and bench seats down into the garage. This required unscrewing the booth from its current location:

Removing the booth


and mounting it into the new location in the garage:

Installing booth in new location


Here it is almost finished. There is still some trim work to do, though.

Booth mounted in garage


With the booth removed from its old location, we then bought a couple inexpensive chairs. We really like the way this change opened up the area.

Chairs where booth used to be

Installing the New Couch

Once the wall was removed, we could move the new couch in through the garage. It came boxed up and wrapped in plastic, so we had to do some unwrapping.

Unpacking the new couch

Once unwrapped, we slipped it into place.

Image of new couch

Removing the Garage Wall

We had expected to garage wall to come down pretty easy, and for the most part that was correct. My neighbor John recommended that I contact the manufacturer to ask about it. I did so, and was surprised to receive a reply within a day stating that it should be ok. There are no wires, pipes, or structural issues with doing so.

My plan was to remove the door, and then start on the garage side taking the paneling down to see how the wall was constructed. This helped me see where the screws were located.

RemovingWall0


Upon close inspection, I discovered a problem. The side of the walls are attached to the walls with screws. I could see the screws protruding in from the outside wall, but the screw heads are not visible on the outside walls. So I concluded that the walls were screwed in place before the outside paneling was installed. This made it impossible to remove the screws without removing the outside paneling, which I did not want to do. So I ended up drilling holes around each protruding screw, and then ripping the wood off the wall. This left each screw protruding from the wall. I then used a power grinder to cut each screw off at the wall. I’ll need to apply some sort of trim to hide the cut-off screws.

Removing the wall 2

The picture above shows the garage looking from inside the RV. Part of the old wall is leading against the back (tailgate). The grinder used to remove the screws is laying next to where the wall used to be, and next to the step that leads down to the old garage.

Above the garage is a bed loft. The wall provided a bit of support to the bed, so we’ll need to reinforce it with a post or additional angle iron. We didn’t need to make that decision right away, but eventually decided to make a post that would only be put into place when using the loft. This leaves the space wide open the rest of the time.

Replacing the couch

Our first step, upon deciding to remove the garage wall, was to go purchase a couch. It didn’t take us long:

New couch

We’ll be picking it up next weekend, once the garage wall has been removed so we can get it in. This unit has a fold down center console, and dual recliners. It will be replacing both the recliner and the sofa. The console doesn’t have power ports, so we’ll be adding those later.

Renovating the RV

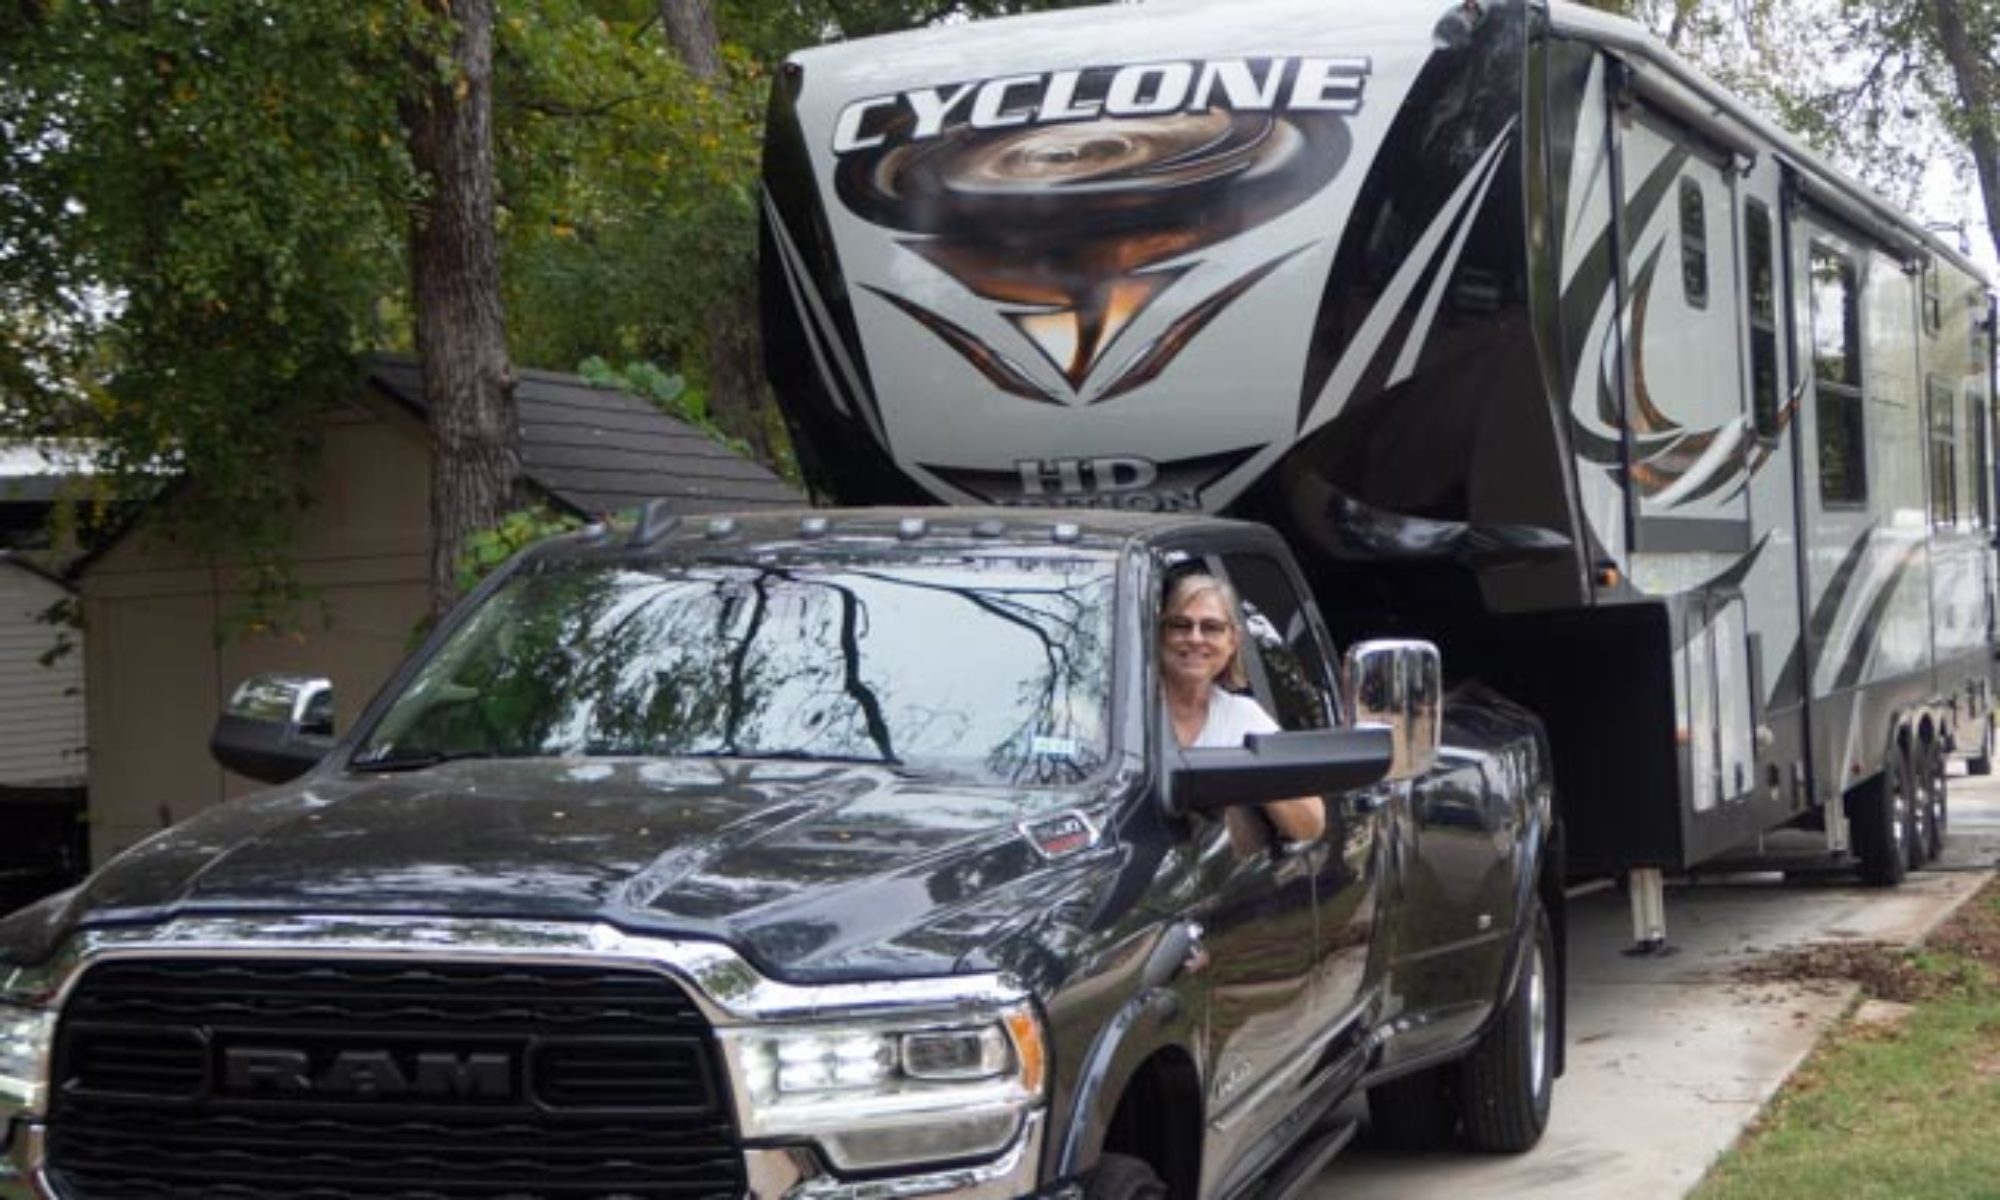
My wife and I have been in our current RV for about 2 years now. It is a 2007 KZ New Vision Sportster 41′ toy hauler (41KGx2).We bought it used, so it already had a bit of wear on it. We decided a couple weeks ago to do some major fixing up.

Floor plan of our RV

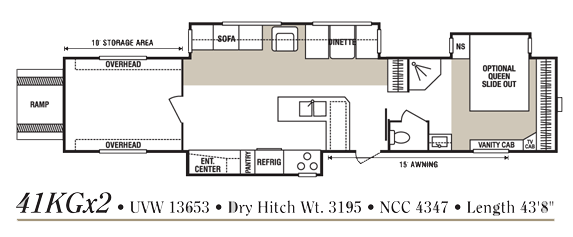
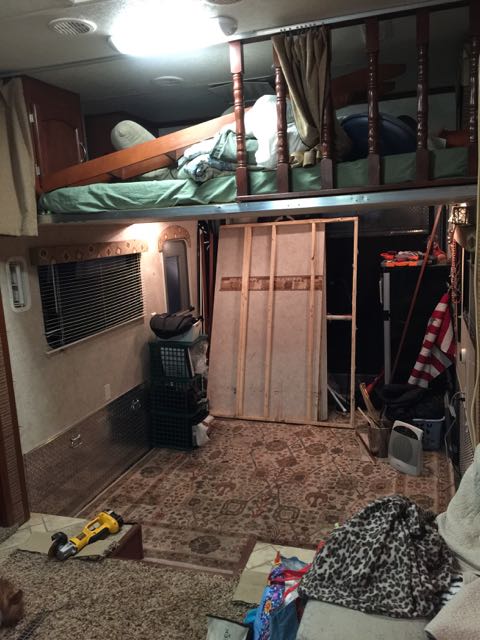
Note: not shown in the above floor plan is the 2nd door in the garage (storage area), nor the bed loft above it. I’ll be posting some pictures later on.

One of the problems with fixing up an RV is that the doors on an RV are only 24″ wide. We’ve about worn out the current recliner and sofa. But buying a new one was a challenge because of the narrow door width. We had about resigned ourselves to ordering one from an RV company, but then a plan started coming together (don’t you just love that?).

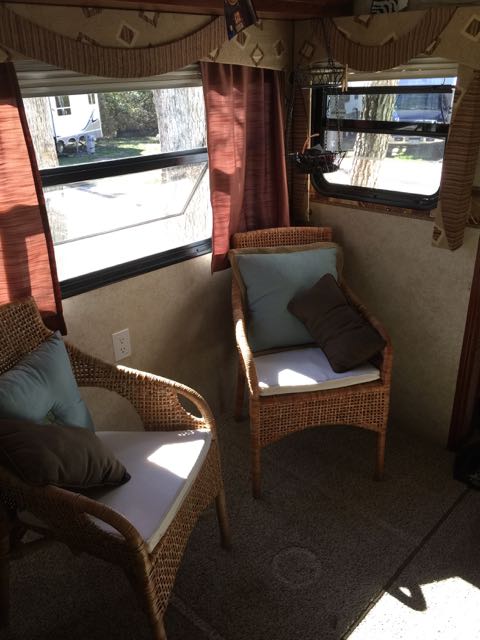
We originally purchased a toy hauler because we liked the idea of being able to take our motorcycle with us. But what really sold us was the idea of using the extra space to expand our living area. So for the past couple years our “garage” has actually been my piano room. We also put a 2nd refrigerator in there, and use it for ironing. It was really nice having the tailgate, because we could easily move big things into it, like the refrigerator.

We had originally thought that the separate garage would provide a mini-apartment for our kids when they visit. This hasn’t happened, though. The kids usually sleep in the fold out couch or loft in the main area. So it occurred to us, why not take down the garage wall, opening up the main area space?

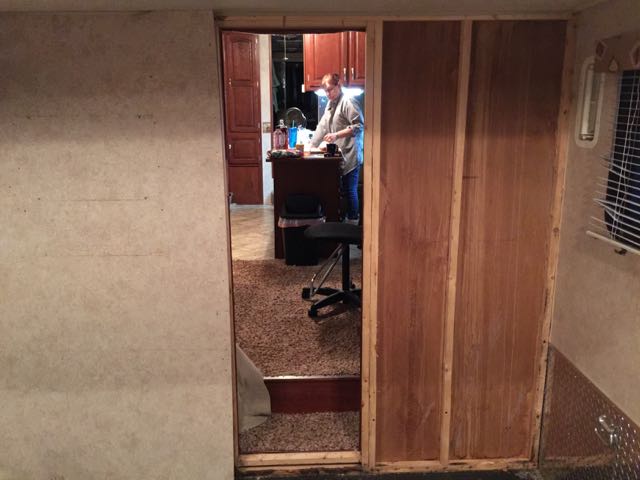
I realize that the main reason for the garage wall is to keep the gasoline smell out of the living area. But we don’t keep the motorcycle in the garage. When we go somewhere, the first thing we do when we get there is to take it out.

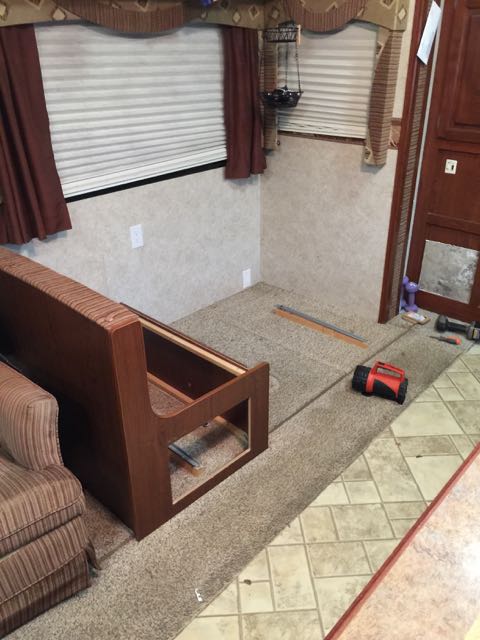
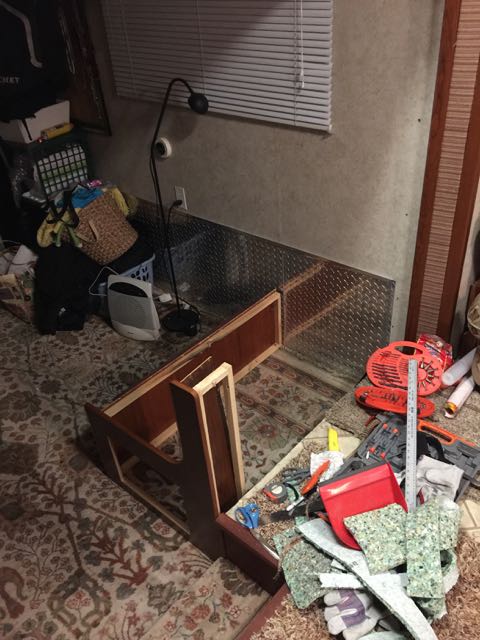
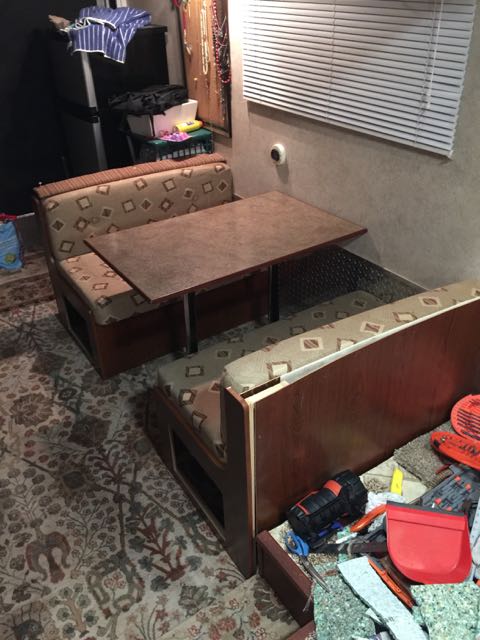
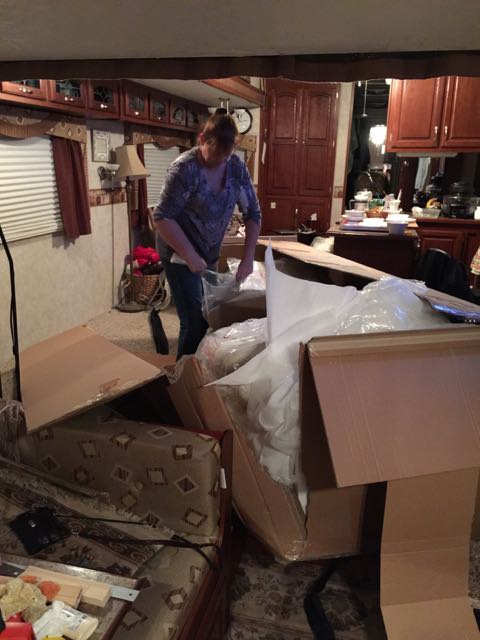
Once we started thinking about taking the wall down, we realized that without the wall, we could bring any size furniture into the living room through the tail gate.

And so the project begins. I’ll be posting our progress as we go.

Vacation 2012

We finally took the RV out on the open road, driving from Austin to LA and back with stops at the Ice Caves near Roswell, the Grand Canyon, 3 days at Disneyland, and a few days at our timeshare at the Flamingo.

Travelling with me was my lovely wife Shelley, our oldest son Brian, and his two twins Ethan and Gillian. Together we hit the road to discover America!

Our First RV Headache

After the heavy rains earlier this week, we’ve had to really check out the RV for leaks. We didn’t find any major leaks. However, we did find evidence of a significant amount of old water damage. When we purchased the RV we were told that there had been a leak along the front, but that it had been fixed. It turns out that there had been a significant amount of water damage, rot, and mold which had not been fixed.

Rotting floor

So we rolled up our sleeves and got to work this weekend.

We had to completely dismantle the closet doors and shelves to get at the rear panels. Upon pulling up the carpet we realized that we’d need to replace the flooring, at least for the back part.

Rotting wood in closet
Rotting wood behind closet rear wall

The framework behind the rear wall panelling was rotten, so we had to replace it.

We looked into using teak, but this appeared cost prohibitive. Instead we’ve opted to go with an inexpensive hardwood and paint it with Kilz.

It appears that the closet was built before the front end fiberglass end cap was installed. We really didn’t want to remove any outside panels, so we were delighted to find that we could reach everything containing rot from inside. Thank you Jesus.

I’ll post more pictures as we go.

Going Mobile

God is taking us yet another direction. We are in the process of selling our home and becoming full-time RVers. Alas, this means that we will be unable to conduct our workshops from our home anymore.

I am going to continue website coaching and smaller design projects. I’ll just be doing it from wherever I happen to be. We’ll also be rebranding from our current Website Workshops to the more appropriate Nomad Websites name.

I apologize to those of you that wanted to attend one of our future workshops. I will continue to be available for 1-on-1 training while I am in the area.