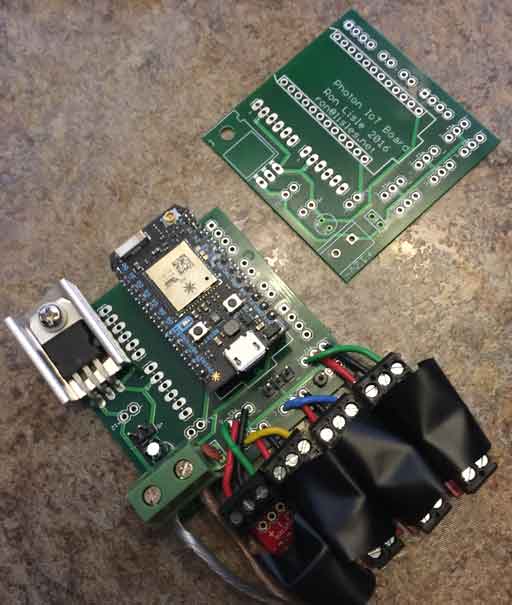
I’ve been working for a couple years now to automate my RV using a combination of Particle.io Photon micro-controllers, an iOS app, and an Alexa skill. This has been fairly easy to do, due mostly to the ease of using the Particle.io API. Over the next year, in addition to adding additional functionality and more Photons, I hope to add Apple TV and Watch apps. This got me to thinking about how to make the system easier to configure and extend.
Since I’ve written all the software pieces myself (iOS app, Alexa skill, Particle sketches), up until now I’ve taken the expedient route of just hard coding the names of each controller into both of the apps. With only a single iOS app and Alexa smart home skill, this meant updating those two programs every time I added a new Photon, or extended one of the existing Photons. Not a big deal, albeit somewhat inconvenient.
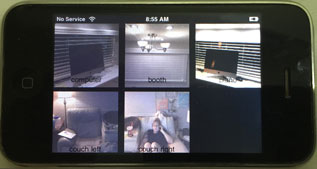
However, recently I created an additional iOS app to allow using older iPhones to be mounted to the wall and used as control panels. Hard coding the names of the controllers into the apps means that I have to manually update each device whenever there is a micro-controller change. Now this is becoming a much bigger inconvenience.
So I’ve converted each micro-controller to be self registering with the system:
- Each Photon publishes several variables that list the device names it implements, in addition to what ‘events’ it listens for. These variables are exposed by the particle.io API and used by both the Alexa and iOS app to dynamically configure themselves.
- All applications use this information, instead of having to hardcode a list of commands.
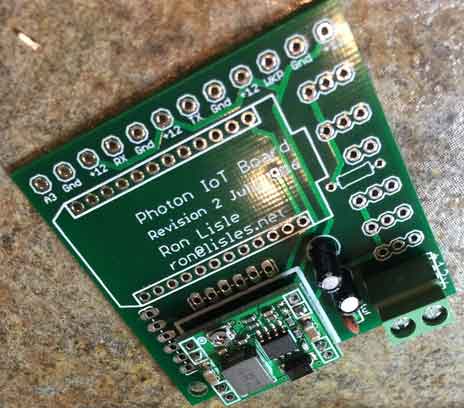
- This functionality is built into a published IoT particle library, so copy/paste is minimized.
So now instead of needing to reprogram the Alexa skill and iOS control panel apps whenever I add a new controller, I just need to expose the data about that controller as described above, and all the applications pick it up.
I’ve posting the Photon and iOS code to Github, so please take a look and let me know what you think.
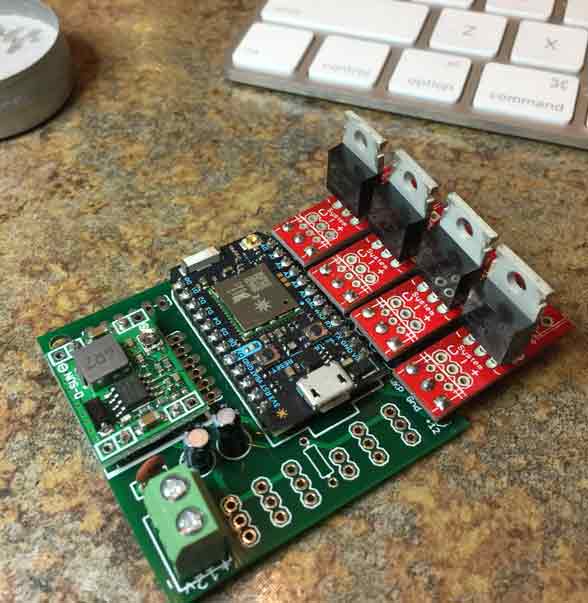
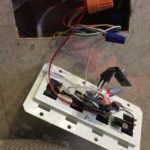
 At this point I’ve installed about a dozen Arduino Pro Mini based controllers in my RV. These are very inexpensive, about $2 each, but suffer from several limitations:
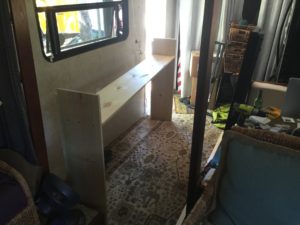
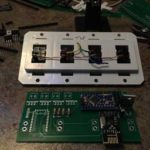
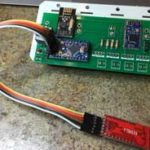 In my usage case, I’m mounting these things above ceilings to control lights, and behind wall switches to read and broadcast switch state. This means every time I need to change or debug them, I have to open up the wall, which means removing the switch plate and switch or lamp fixture to get to them.